Airsoft Mines? Pt 1
Recently, I've shared some of my airsoft tripwire and motion-activated mine designs on Reddit, and they’ve received a lot of positive feedback. So, I thought I’d provide more details on them. Hopefully, they can inspire others to create their own cool gadgets!
Tripwire Mine - Reddit
Motion Activated Mine Prototype - Reddit
For those who may not be familiar with me, I use Blender 3D to design my creations. Blender 3D is a powerful and free open-source software used for 3D modeling, animation, and rendering. It's widely used by professionals in various fields, including film, animation, and game development. You don’t necessarily need a dedicated CAD program to model things—Blender is versatile and capable enough for these types of projects.
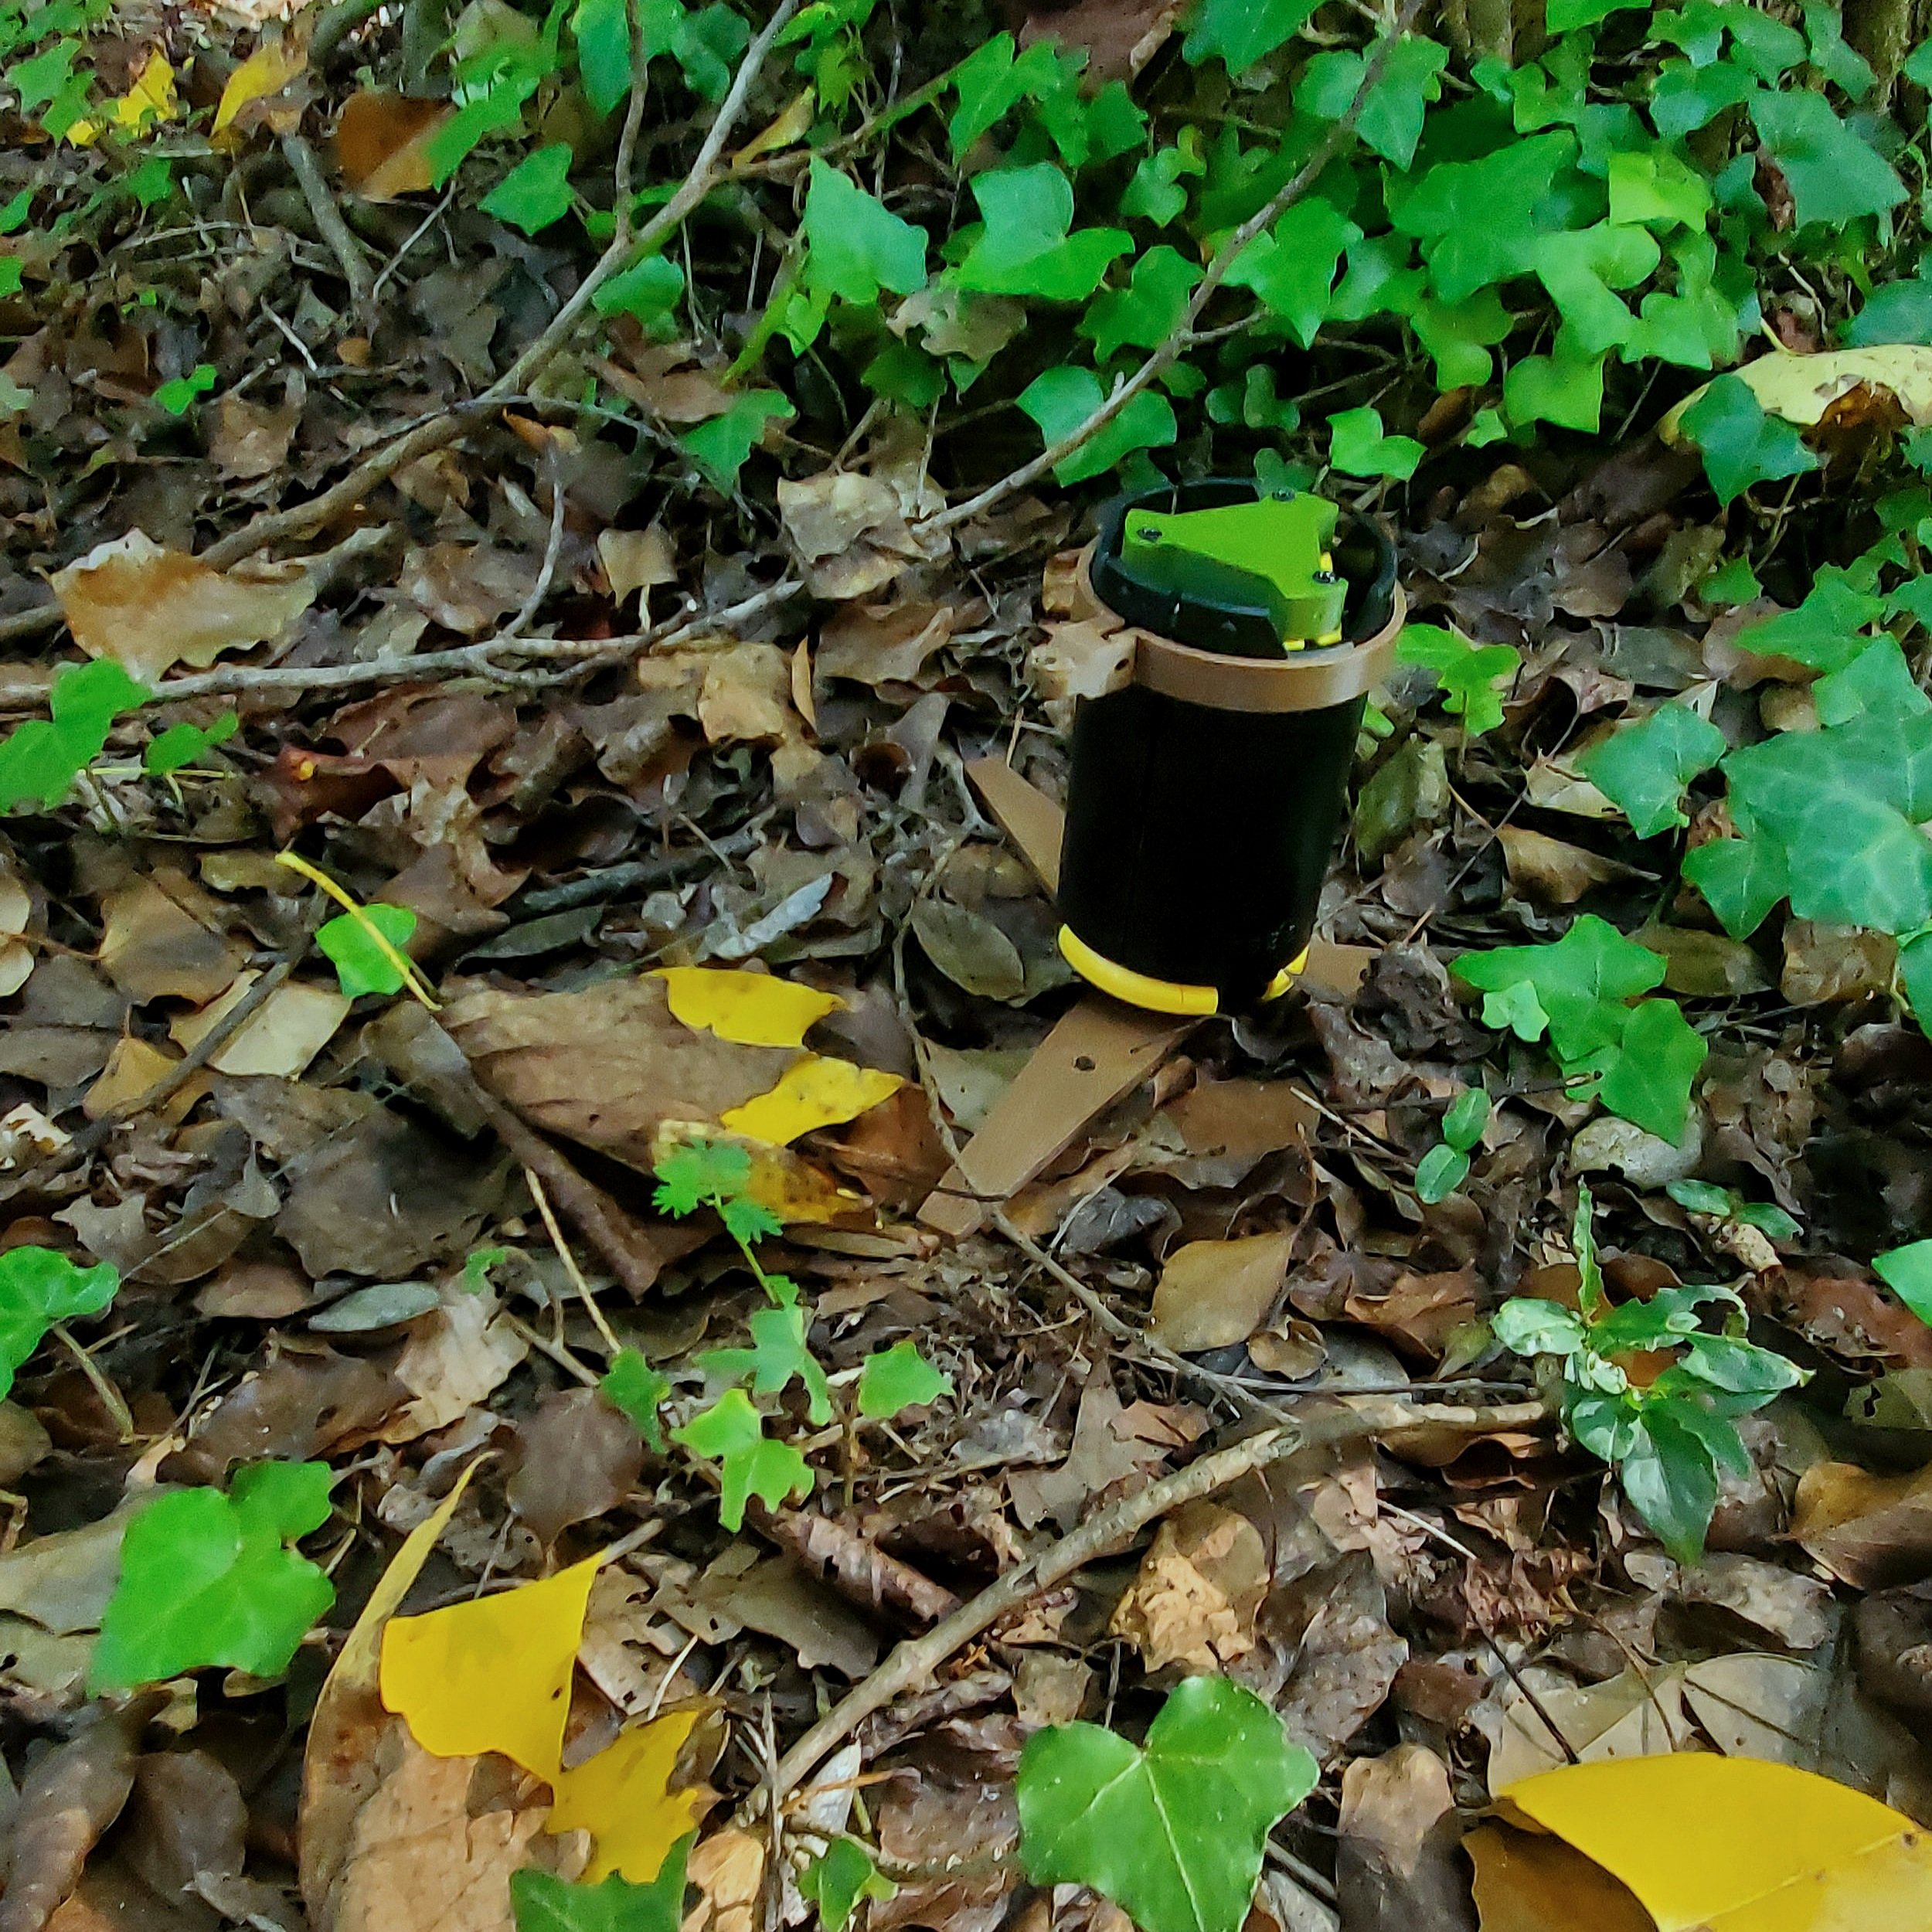
An Emplaced Airsoft Tripwire Mine Ready To Be Armed
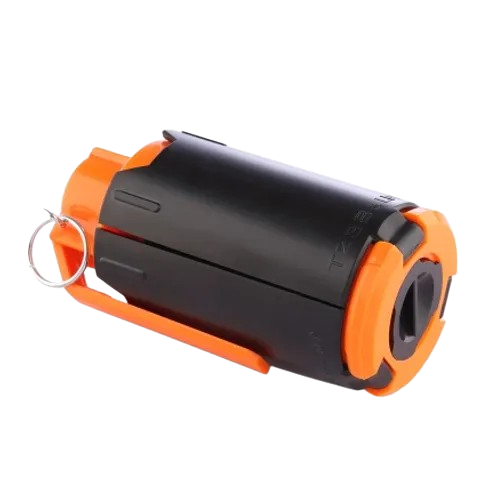
The first design is a tripwire conversion. It’s designed to convert the T238 Mk3 Impact Grenade into a tripwire landmine. I purchased the T238 grenade a while back, and while it works, its performance was lacking. When thrown, the grenade would tumble and land at various angles. Some angles, especially when landing vertically, had good BB or Gellyball dispersion. However, most other angles either shot downward towards the ground or away from the intended target.
T238 MkIII Impact Grenade for Airsoft/Nerf/Gellyball
Understanding the grenade's spray pattern, I set out to figure out how to make the best use of it. I needed a way to ensure the grenade was vertical every time, and I decided on converting it into a mine. I went through several designs, but many were overcomplicated. Over the years, I've learned that the simplest solution is often the best.
I decided to use a two-part collar on the grenade’s body, hinged in the middle, allowing the spring pressure of the grenade to open the collar once triggered. The opposite side of the hinge had two tabs held in place by a clip, or the "trigger." The trigger prevented the collar from opening and was held in place by the spring tension of the grenade trying to open the collar. Once removed, the grenade was free to rocket open, slinging BBs or Gellyballs in an upward and outward 360-degree pattern.
Next, I designed a cover for the top of the grenade because I had to remove the spoon and impact fuzing portion, so it was always primed to go off. The final step was to design a base for the grenade to prevent tipping when the tripwire was pulled. The challenge here was finding a way to mount a base to the grenade while still allowing it to be filled from the bottom. I ended up replicating the original fill port shape but added some heat-set inserts so I could mount the base and legs. I made this in two parts—the fill port and legs—so I can change out the legs in the future for different applications, like a spike for soft ground or a hook to hang in trees.
An emplaced mine ready and waiting! Shown here is the Woodland Brown Base, Collar, & Trigger with an Olive Drab Cover
This design offers expansion and customization options, making it versatile and effective. It’s a simple yet efficient way to repurpose the grenade body, and I believe it's a better use for the grenade overall.
Keep an eye out for Part 2 of this post where I discuss my motion-activated mine that sprays out +550 bbs and can be set off multiple times when emplaced!


